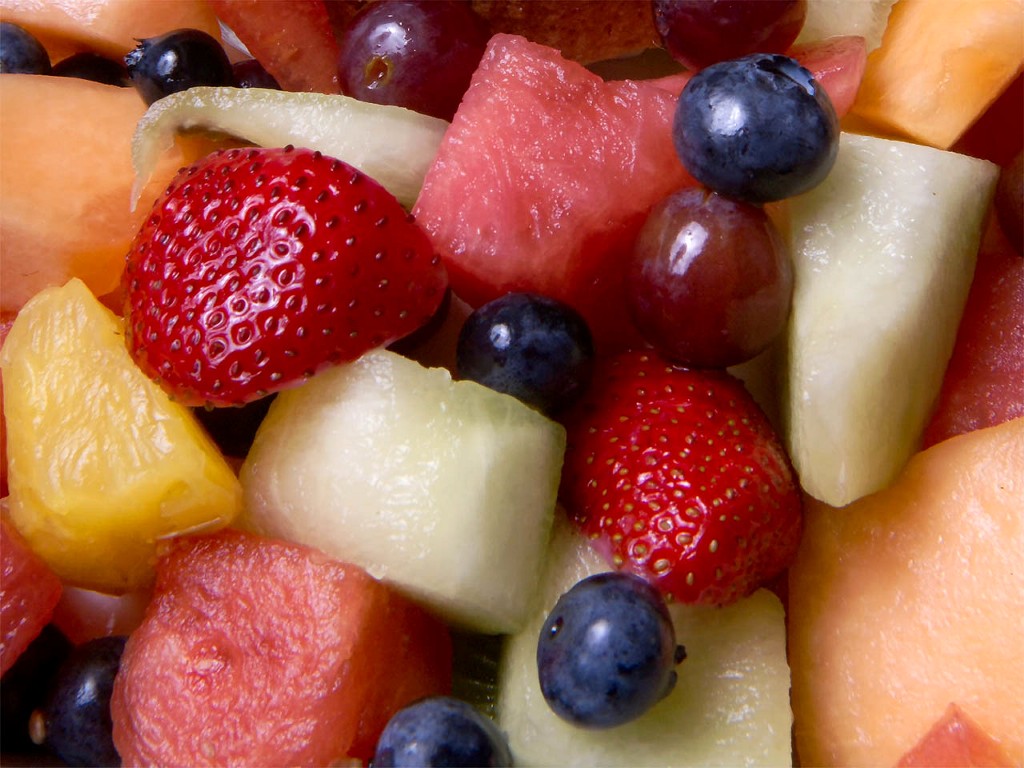
This example shows classic loupe out of box. Classic rounded shape, dark semi-transparent overlay and 100% zoom for best visual effect.
Try to use mouse scroll to change size of loupe or hold 'z' on keyboard and scroll to change zoom factor.
Click on photo to open prettyPhoto gallery!
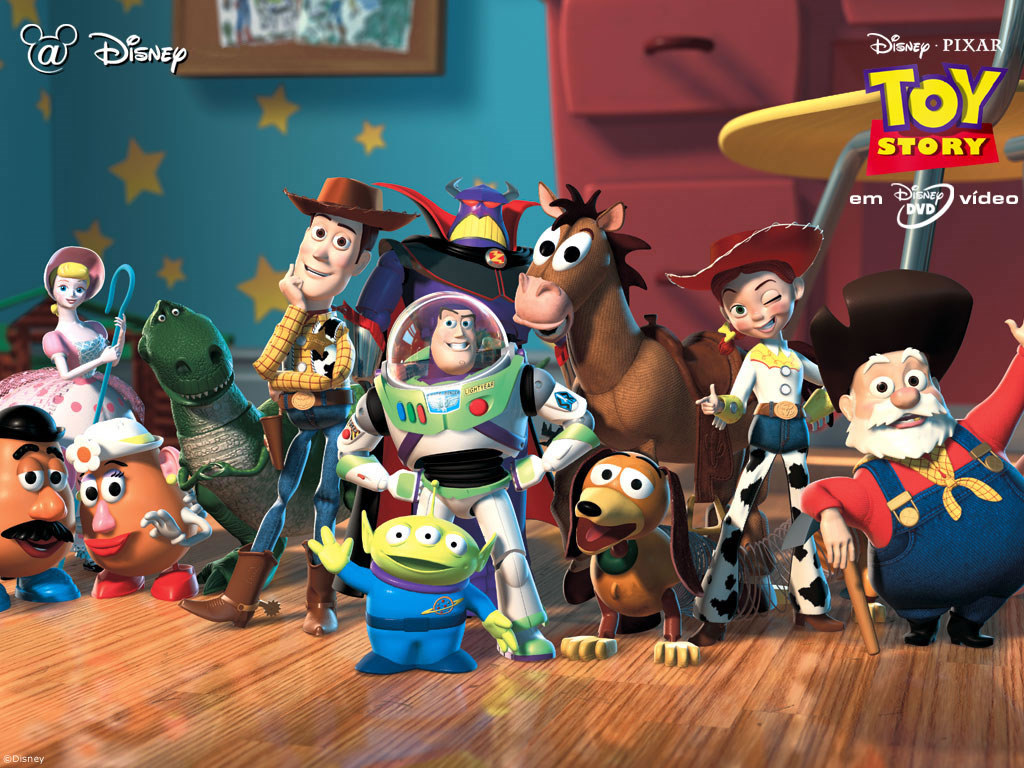
This example shows loupe with some custom settings. Almost every aspect of look and feel can be changed. Here custom image overlay is applied,
shape, size, snap, min/max size are changed also. You can easily allow/forbid size/zoom changing to end user. Here zoomin is not allowed.
Try to use mouse scroll to change size of loupe.
Click on photo to open prettyPhoto gallery!
Here we can see squared shape in action. Shadow and lens glossy effect can easily be removed using plugin settings.
Try to use mouse scroll to change size of loupe or hold 'z' on keyboard and scroll to change zoom factor.
Click on photo to open prettyPhoto gallery!
Once again classic rounded loupe but this time without image overlay and optional shadow.
Try to use mouse scroll to change size of loupe or hold 'z' on keyboard and scroll to change zoom factor.
Click on photo to open prettyPhoto gallery!

Ok here's some more complex example of loupe usage. This time we specify other image which has to be rendered inside loupe. Basically it's
the same image as source but with one difference - it's not a grayscale image. Using different images as thumb and target is very easy to setup and
can create stunning effects.
No resize & zoom allowed - scroll event ignorde and handled by browser - scrolls page
Click on photo to open prettyPhoto gallery!
The same story here - two images one normal and second photoshoped... nice huh?
Try to use mouse scroll to change size of loupe or hold 'z' on keyboard and scroll to change zoom factor.
Click on photo to open prettyPhoto gallery!